How to Mod a Nerf Gun
Okay, so if you plan on modding your Nerf gun, you need to take it apart first, obviously. After the gun is disassembled, you’re going to want to locate the plunger and plunger tube. The plunger is the device that actually pushes the air into the plunger tube, which feeds it to the dart and propels it forward. Next you need to find the spring. The location will differ between reverse plunger and direct plunger guns. In direct plungers, the spring is located on the plunger tube. You need to unscrew the plunger head to get to it. In reverse plungers, the spring is much easier to get to. It’s right behind the plunger.
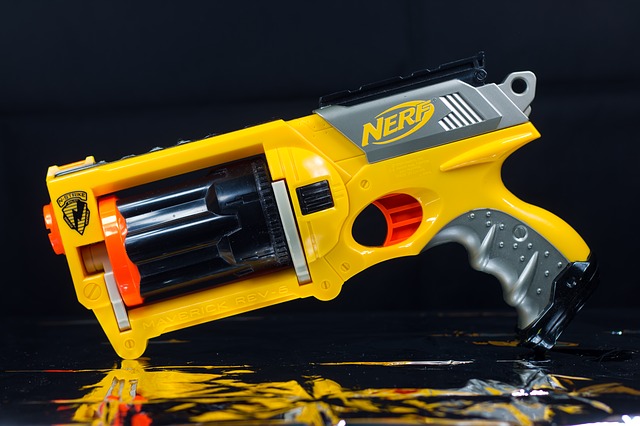
Now once you have your spring, you have three options. The first is to leave it as is. The second option is to stretch the spring, but this is not recommended, as after using the blaster for a while, the spring goes back to the way it was, or can even get weaker. The third, and probably best option, is to add/replace the spring. However, you don’t want the spring to be too powerful, otherwise your gun could break. Next up is air restrictor(AR) removal. As the name suggests, the AR limits the amount of air that actually gets to the dart. Some Nerf guns, such as the Maverick, have multiple air restrictors.
How you actually get to the AR(s) varies from gun to gun. In some guns, such as the Nitefinder or Maverick, you can simply take away a few parts to get to them, and then take them out. Others, like the Recon or the Raider, require several steps to access them. The universal components to the AR are a spring and a plastic circle with usually three prongs. You can just throw these away. Another thing to do to the Nerf gun is to plug up the air release hole. I’m not sure if this applies to all blasters or not. This is generally located by where the air is released. It’s just a hole in the plastic that limits how much of the air actually gets to the dart. There are more advanced mods, such as barrel replacement and integrations, but I won’t get into those right now.
Air Guns
Modding air guns is a little different than modding spring guns. Again, you’ll want to first take the gun apart. Then, you’re going to want to locate the air bladder. The air bladder is what stores the air that the gun uses to propel the darts forward. Once you’ve found that, there are several things you can do. The first is to sand/cut down the over-pressure release valve(OPV). The OPV is a usually a rod on the opposite end of the bladder with the pump. It releases air if too much is pumped into it. Now when you sand/cut it down, you should leave a little bit so that the air bladder doesn’t explode on you. The second thing that you can do is remove the cover. This is not universal to all air blasters, but some, such as the Magstrike, have one. This pretty much limits how big the bladder can get, thus limiting the amount of air that can be stored.
You can just remove it and throw it away. Another thing to do to the gun is to plug up the air release hole. I’m not sure if this applies to all blasters or not. This is generally located by where the air is released. It’s just a hole in the plastic that limits how much of the air actually gets to the dart. Air powered guns generally don’t have ARs, but some still do have an air limiting system. A great example of this is the Titan. You can see a grate like structure at the end of the barrel. You can just drill this out. Others, such as the Magstrike, have pegs. In this case, the pegs are in the clip. You can drill these out, or you can cut them out. I really don’t care what you do. Again, like spring guns, there are more complex mods, but I won’t write about those right now.